HOW TO MAKE CONTOURS IN SKETCHUP
Creating contours from Geo - Location
First of all you need a latest version of SketchUp Pro in order to use geo location.
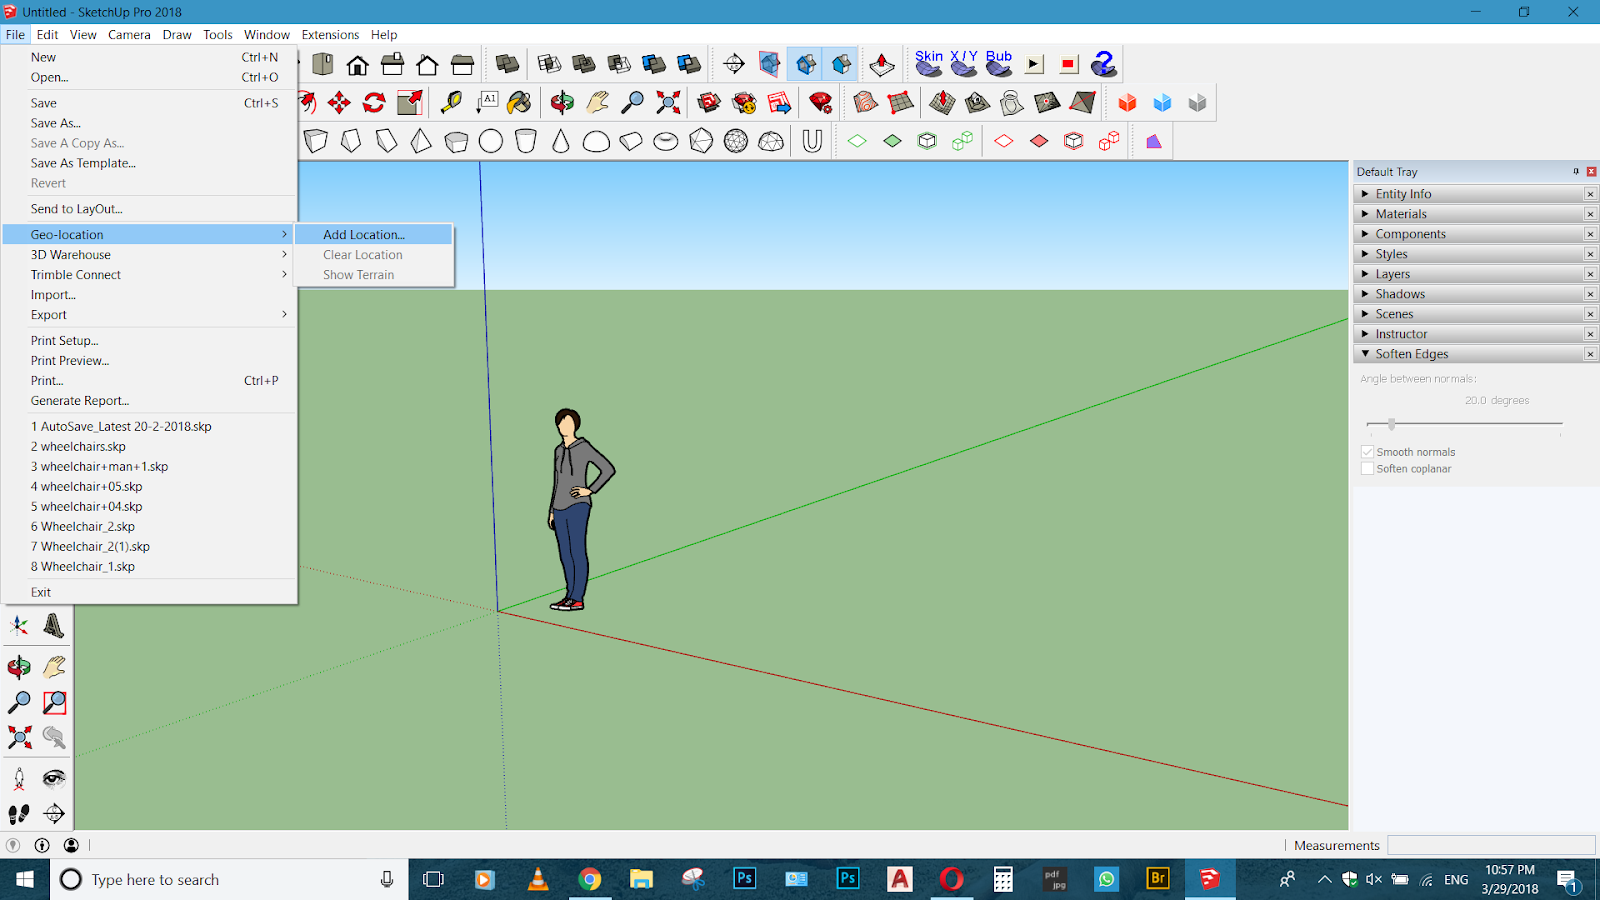
2. Go to file menu. In File go to Geo location and then "Add Location".
4. Afterward it will be seen like this.
First of all you need a latest version of SketchUp Pro in order to use geo location.
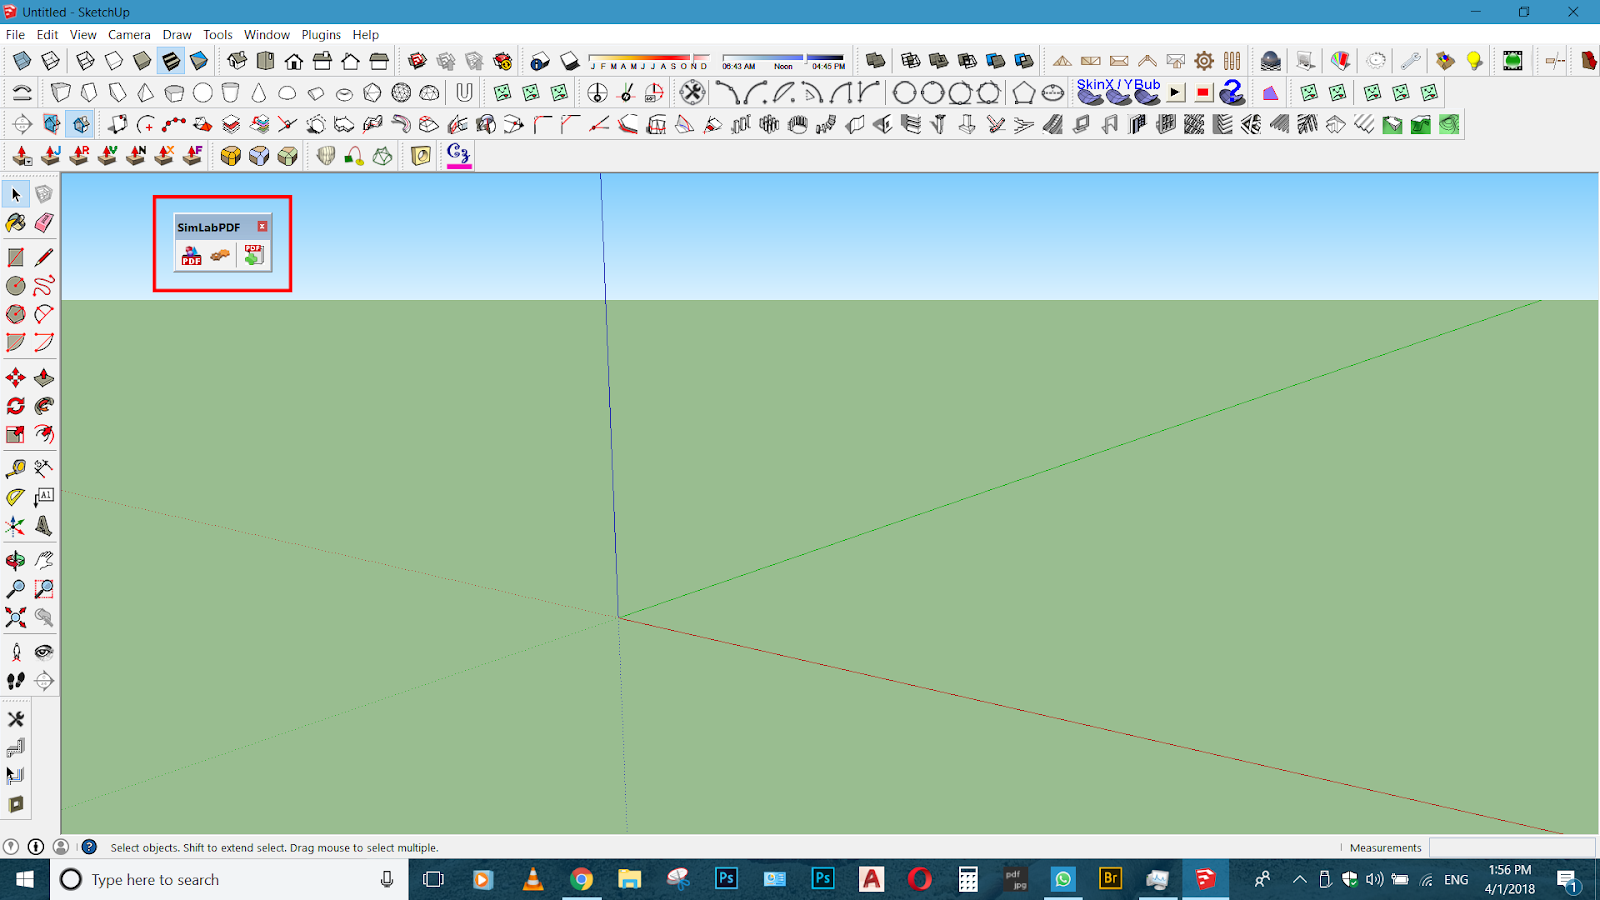
- Open SketchUp Pro 2018
 |
| Add caption |
3. Select the site for which you want contours. Type the location of the site in the search bar and select the region of the site and then hit the "Grab" button.
4. Afterward it will be seen like this.
6. Now make a rectangle of size of site or bigger than that (Slightly bigger rectangle will be better).
7. After creating rectangle make that rectangle a group. ( By double clicking on rectangle and then right click and selecting "Make Group").
8. Now align that rectangle to the bottom most part of the terrain. (It can be achieved by trial and error by dragging the rectangle up and down. Place the rectangle such that slightest part of the rectangle can be seen from top).
Trick : You can lock your movement in blue axis by pressing Up arrow key in your keyboard.
9. Afterwards decide the contour interval.
10. Suppose I want the contour interval to be 1m. So I will be copying that rectangle and placing at 1-1m gap from each.
12. Select all the rectangles and terrain and then press right click on your mouse and go to intersect faces and then select "With Selection".
13. Afterwards Delete all the rectangle and you will get contour lines on the top of your terrain.
14. You will get something like this.
15. Select all the contour lines (Dont select the geo located terrain) and then go to draw menu. In draw menu go to sandbox and then "From Contours".
16. And Finally you will get the contour lines with the surface.


Comments
Post a Comment